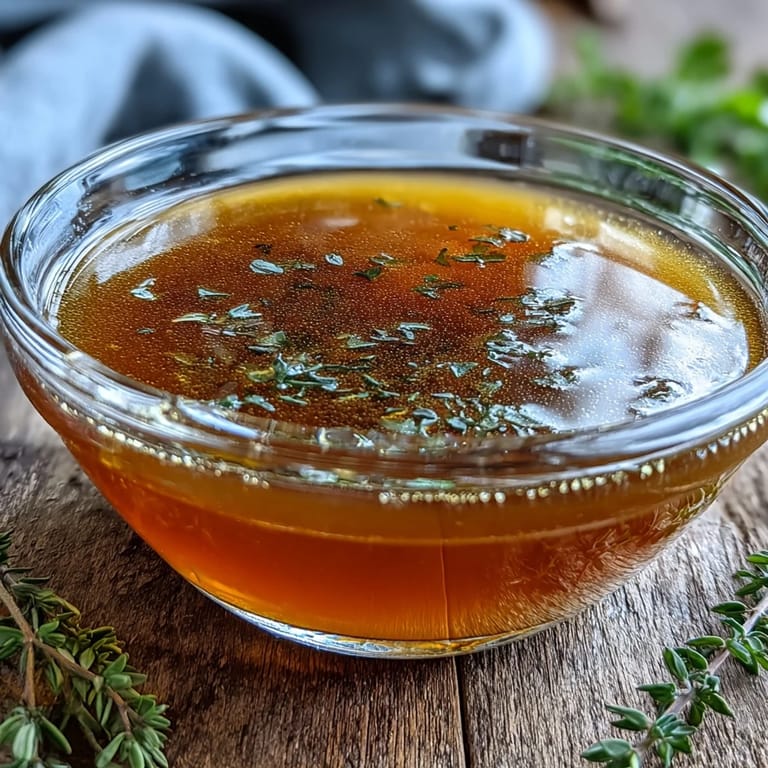
 Save to Pinterest
 My neighbor once handed me a gallon bag of vegetable scraps from her restaurant job, laughing that she couldn't bear to throw them away but had no idea what to do with them. That afternoon, I simmered them into the most golden, fragrant broth, and suddenly I understood why people in older kitchens never wasted a carrot top. What started as rescuing her trash became my favorite way to build flavor from nothing.
I made this broth on a gray November morning when my daughter asked why I was saving onion skins instead of tossing them. By lunchtime, the house smelled like an autumn farmers market, and she wanted to know if we could make soup right then. That pot of simple scraps became our afternoon project, and she's never looked at vegetable trimmings the same way since.
Ingredients
- Vegetable Scraps (5-6 cups): Carrot peels, onion skins, celery ends, leek tops, mushroom stems, garlic skins, and parsley stems are your best friends here, each bringing their own character to the pot.
- Bay Leaves (2): These quiet achievers add a subtle earthiness that rounds out the broth without overpowering it.
- Black Peppercorns (8-10 whole): Whole peppercorns release their warmth gradually, avoiding the dusty bite of ground pepper.
- Garlic (2 cloves, optional): Smash them gently to release their oils into the broth, but skip them if you want something lighter and more neutral.
- Fresh Herbs (small handful, optional): Parsley or thyme sprigs add brightness, though they're truly optional depending on your mood.
- Salt (1-2 teaspoons): Start with less than you think you need, tasting as you go since the flavors concentrate during simmering.
- Cold Water (2 liters or 8 cups): Cold water draws flavors out gently, which is why you don't start with boiling water.
Tired of Takeout? 🥡
Get 10 meals you can make faster than delivery arrives. Seriously.
One email. No spam. Unsubscribe anytime.
Instructions
- Sort and gather your scraps:
- Rinse everything under cold water and lay out what you have, avoiding bitter vegetables like broccoli, Brussels sprouts, or too much cabbage since they'll muddy the clean flavor you're after. Save anything colorful and aromatic, including the papery garlic skins and herb stems everyone usually discards.
- Build the base:
- Tumble your scraps, bay leaves, peppercorns, garlic if using it, and salt into your largest stockpot, then pour the cold water over everything until it just covers the solids. There's something satisfying about watching this humble pile transform the moment the water hits it.
- Bring it to life:
- Turn the heat to medium-high and let the broth come to a gentle boil, which usually takes 8-10 minutes, then immediately lower the heat to maintain a quiet, steady simmer. You'll notice foam rising to the surface, which you can skim away with a spoon if you like a clearer broth, though it's not essential.
- Let time do the work:
- Simmer uncovered for exactly 1 hour, resisting the urge to rush it or cover the pot, which would trap harsh flavors. The smell will get richer around the 45-minute mark, and you'll know it's working.
- Taste and adjust:
- At the one-hour mark, steal a small spoonful and let it cool slightly on your tongue, then decide if it needs a pinch more salt or if it's perfectly balanced. Trust your instinct here because your taste buds know what you'll enjoy.
- Strain and store:
- Line a fine-mesh sieve with cheesecloth if you want extra clarity, or just use the sieve alone, pouring the broth into a large bowl or container and letting gravity do the work. Once cooled, transfer to airtight containers and refrigerate for up to 5 days, or freeze for 3 months.
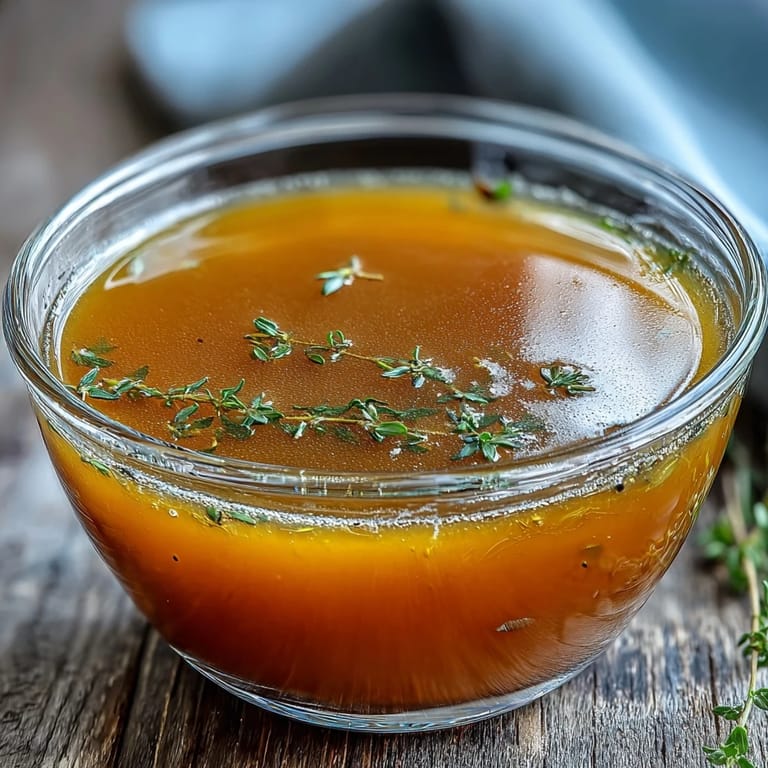 Save to Pinterest
 One winter evening, my mother-in-law tasted this broth in a simple vegetable soup and asked if I'd bought it from somewhere special. When I told her it was made from scraps I'd been saving, she got quiet for a moment and then started saving her own. That's when I realized this broth wasn't just about using less or spending less; it was about understanding that good food doesn't require perfection or waste.
The Scraps That Matter Most
Over time, I've learned which scraps make the biggest flavor difference, and it's not always what you'd expect. Onion skins add a subtle sweetness and golden color, carrot peels bring earthiness and natural sweetness, and mushroom stems contribute an umami depth that elevates everything. Leek tops and celery ends are quieter players, but they build a rounded foundation that makes the broth feel complete rather than one-note.
Building Flavor in the Freezer
I keep a small container in my freezer where vegetable scraps live until they're needed, which means I'm never waiting for inspiration to make broth. Garlic skins, herb stems, and bell pepper ends get added to this collection as I cook through the week, and there's something wonderful about transforming this small pile into something you'd actually want to sip. If you want deeper umami, toss in a piece of kombu or a dried shiitake mushroom, which will turn your simple broth into something that tastes almost like dashi.
When and How to Use It
This broth becomes the backbone of weeknight soups, the cooking liquid for grains that need a gentle hand, or something to sip warm on mornings when you need grounding. The beauty is its versatility and the fact that it costs you nothing but time and the scraps you'd have thrown away anyway. It's the kind of recipe that rewards you for paying attention to your kitchen and respecting what you have.
- Use it as the base for any vegetable soup, or simmer grains like rice, quinoa, or farro in it for extra flavor.
- Freeze it in ice cube trays so you can grab a cube or two for sautéing vegetables or starting a quick sauce.
- Sip it warm in a mug on quiet mornings, seasoned with a pinch of salt and perhaps a fresh herb if you have one nearby.
 Save to Pinterest
 Making broth from scraps transforms the way you think about cooking, turning every carrot peel and herb stem into potential. It's one of those quiet kitchen practices that costs almost nothing but gives back generously every single time.
Recipe Questions & Answers
- → What vegetable scraps work best?
Carrot peels, onion skins, celery ends, leek tops, mushroom stems, garlic skins, and parsley stems create the most balanced flavor. Potato peels also work well when potatoes are peeled first.
- → How long does homemade broth keep?
Store strained broth in airtight containers in the refrigerator for up to 5 days. For longer storage, freeze in portion-sized containers for up to 3 months without losing quality.
- → Why avoid cruciferous vegetables?
Broccoli, cauliflower, Brussels sprouts, and cabbage can impart a bitter or sulfurous taste when simmered for extended periods. Stick with milder vegetables and aromatics for cleaner flavor.
- → Can I enhance the umami flavor?
Add a piece of kombu seaweed or dried shiitake mushrooms during simmering for deeper savory notes. Roasting some vegetable scraps beforehand also adds richness and depth.
- → Should I salt the broth?
Add salt sparingly during cooking, then adjust to taste at the end. Since broth reduces and concentrates, it's safer to under-salt initially and season more when using in final dishes.
- → Can I store scraps before making broth?
Keep a designated bag in the freezer and add clean vegetable trimmings as you cook. Once you accumulate 5–6 cups, you're ready to simmer a batch of broth.