 Save to Pinterest
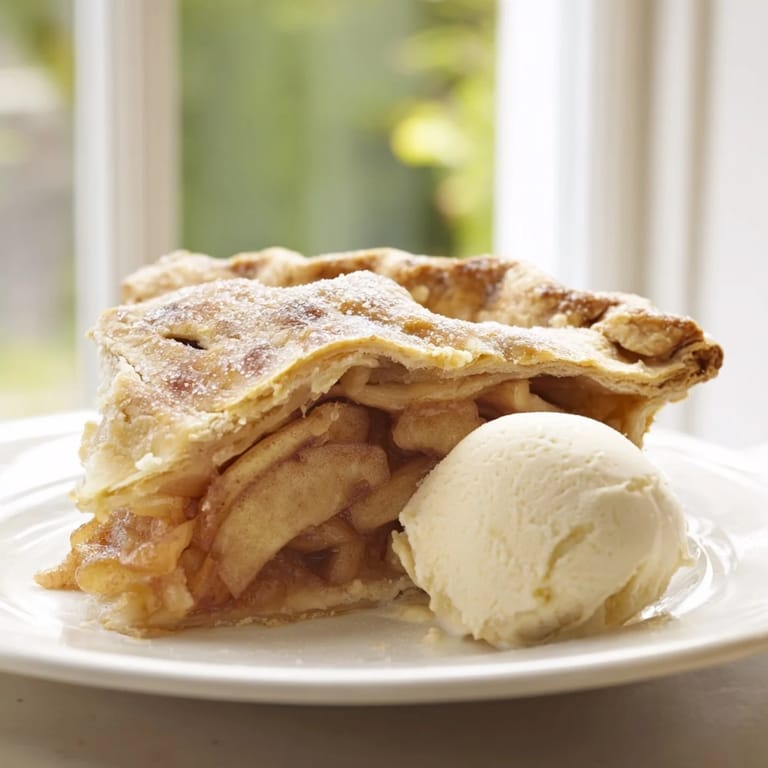
 The first time I attempted apple pie, I used pre-made dough from the grocery store and wondered why everyone raved about homemade crust. Years later, standing in my grandmothers kitchen watching her work butter into flour with her bare hands, I finally understood. Now I make this recipe every autumn, and the house fills with cinnamon and sugar while the apples bubble away beneath a golden crust that shatters beautifully when you cut into it.
Last Thanksgiving, I pulled this pie from the oven exactly as my brother arrived with his family. The smell hit him at the door and he immediately asked what magic was happening in the kitchen. We ended up eating it warm while the leftovers were still cooling on the counter, forks in hand, talking about nothing and everything until only crumbs remained.
Ingredients
- 2 1/2 cups all-purpose flour: The foundation for your crust, measured carefully for consistent results every time
- 1 tsp salt: Essential for balancing sweetness and enhancing all the flavors in both crust and filling
- 1 tbsp granulated sugar: Just enough to help the crust brown beautifully and add subtle sweetness
- 1 cup unsalted butter, cold and cubed: Cold butter is non-negotiable for creating those flaky layers we all love
- 6-8 tbsp ice water: Add gradually until the dough just comes together, handling it as little as possible
- 6-7 medium apples: A mix of Granny Smith for structure and Honeycrisp for natural sweetness creates the perfect filling
- 3/4 cup granulated sugar and 1/4 cup brown sugar: This combination gives depth and caramel notes to the apples
- 1 1/2 tsp cinnamon and 1/4 tsp nutmeg: Classic warm spices that make apple pie smell like home
- 2 tbsp flour: This thickens the apple juices so your slices hold their shape beautifully
- 1 tbsp lemon juice: Prevents apples from browning and brightens all the flavors
- 1 egg, beaten with 1 tbsp milk: Creates that gorgeous golden shine on your finished crust
Tired of Takeout? 🥡
Get 10 meals you can make faster than delivery arrives. Seriously.
One email. No spam. Unsubscribe anytime.
Instructions
- Prepare your crust dough:
- Whisk flour, salt, and sugar in a large bowl, then work in cold butter with a pastry blender until you see coarse crumbs. Sprinkle with ice water a tablespoon at a time, stirring gently until the dough holds together when squeezed.
- Chill the dough:
- Divide dough in half, form each into a disk, wrap tightly, and refrigerate for at least one hour. This rest period is crucial for tender crust.
- Slice your apples:
- Peel, core, and cut apples into quarter-inch slices, then toss them with both sugars, spices, salt, flour, and lemon juice until evenly coated.
- Roll out the bottom crust:
- On a floured surface, roll one dough disk into a 12-inch circle and carefully transfer it to your pie dish, gently pressing it into the bottom and up the sides.
- Fill and top the pie:
- Pile in the apple mixture, dot with butter pieces, cover with the rolled second crust, trim and seal the edges, and cut several vents in the top.
- Bake to perfection:
- Brush with egg wash, sprinkle with coarse sugar, and bake at 400°F on the lower rack for 45-55 minutes until the crust is golden and filling bubbles thickly through the vents.
- Let it cool completely:
- Allow the pie to rest on a wire rack for at least two hours so the filling sets properly and you get clean, beautiful slices.
 Save to Pinterest
 This was the dessert I made the night my partner proposed, though neither of us knew that was coming. We had just moved into our first apartment together and wanted to cook something that felt like celebration. The pie was perfect, but the company was even better.
Making It Your Own
After making this recipe dozens of times, I have learned that small adjustments can make it feel uniquely yours. Sometimes I add a handful of raisins to the apple mixture or toss in a pinch of ginger with the spices. One fall I even mixed in some cranberries for a festive twist.
Getting That Lattice Look
A lattice top might look intimidating, but it is easier than you think. Simply cut your second dough disk into strips and weave them over the filling in an over-under pattern. If you mess up a few weaves, do not worry because it will still taste incredible and nobody will notice.
Serving Suggestions
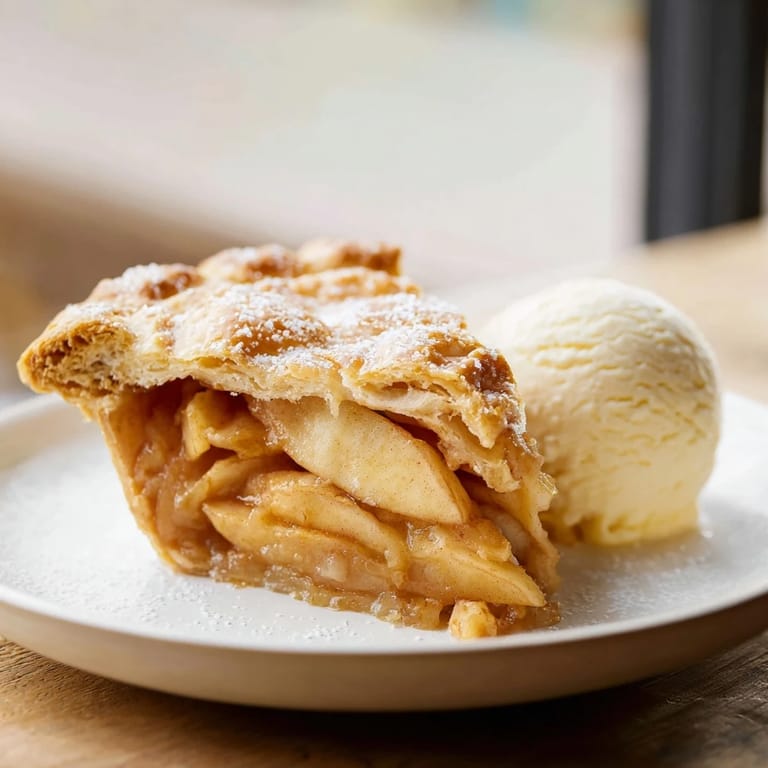
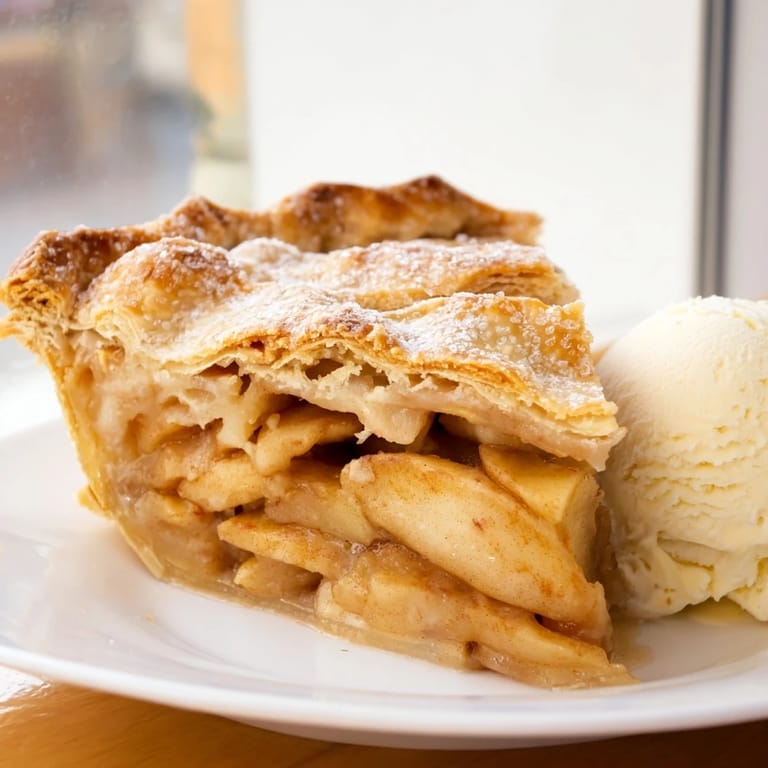
While vanilla ice cream is the classic pairing, I have found that a sharp cheddar cheese creates a surprisingly delicious contrast. A lightly sweet Riesling also balances the spices beautifully if you want wine with dessert.
- Leftovers keep well at room temperature for up to two days
- Warm individual slices in the oven for that fresh baked taste
- The crust freezes perfectly if you want to make extra dough ahead of time
 Save to Pinterest
 Whether you are baking for a holiday crowd or just because Tuesday needs something sweet, this apple pie delivers comfort in every slice.
Recipe Questions & Answers
- → What apples work best for this pie?
A mix of Granny Smith and Honeycrisp apples provides the ideal balance. Granny Smith offers tartness and holds its shape during baking, while Honeycrisp adds natural sweetness and juiciness. You can also use Braeburn, Jonathan, or Pink Lady varieties.
- → Why must the butter be cold when making the crust?
Cold butter creates small pockets of fat in the dough that melt during baking, producing flaky layers. If the butter warms up before baking, it blends into the flour completely, resulting in a tough, dense crust rather than tender and flaky.
- → How do I know when the pie is done baking?
The pie is ready when the crust is deep golden brown and the filling is bubbling vigorously through the steam vents. This typically takes 45-55 minutes at 400°F. If the edges brown too quickly, cover them with foil for the remaining bake time.
- → Why is cooling time important before slicing?
Allowing the pie to cool for at least 2 hours lets the filling set properly. The thickeners (flour and sugars) need time to work as the pie cools. Cutting too early results in a runny filling that spills out. The pie slices cleanly and holds its shape once properly cooled.
- → Can I make this ahead of time?
Absolutely. You can prepare the dough up to 2 days in advance and refrigerate it. The filling can be sliced and mixed a few hours before baking. Fully baked apple pie keeps well at room temperature for 2 days, or refrigerated for up to 5 days. Reheat individual slices in the microwave or warm the whole pie at 350°F for 15 minutes.
- → What if I don't have a pastry blender?
You can use two knives to cut the butter into the flour, or simply rub the cold butter cubes into the flour with your fingertips. Work quickly to keep the butter cold. A food processor also works—pulse briefly until the mixture resembles coarse crumbs, then transfer to a bowl before adding ice water.