 Save to Pinterest
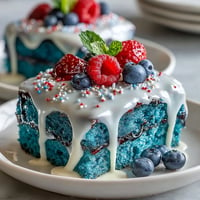
 The smell of melting chocolate and butter stopped me in my tracks halfway up the stairs. My roommate was standing over the stove, wooden spoon in hand, and that glossy dark mixture bubbling away became my Friday night ritual for the next three years of college. There is something almost meditative about watching chocolate transform from jagged chunks into liquid silk.
I brought these to a potluck last winter and watched my friend Sarah close her eyes after the first bite, then immediately ask for the recipe. Later she confessed to eating three squares while driving home. That is the kind of loyalty these brownies inspire.
Ingredients
- Semi-sweet chocolate: Choose a brand you enjoy eating plain since the flavor really shines through
- Unsalted butter: Room temperature butter melts more evenly and prevents the chocolate from seizing
- Granulated sugar: Creates that signature crackly crust as it caramelizes on top
- Light brown sugar: Adds moisture and a subtle caramel depth that white sugar alone cannot achieve
- Large eggs: Eggs at room temperature incorporate better into the batter for a uniform texture
- Vanilla extract: Pure vanilla extract enhances the chocolate notes without being overpowering
- All-purpose flour: Do not pack the flour when measuring or your brownies will turn cakey instead of fudgy
- Unsweetened cocoa powder: Dutch-process cocoa gives a darker color and mellower flavor
- Salt: A quarter teaspoon might seem small but it balances all the sugar and makes chocolate taste more intense
- Chopped walnuts or pecans: Toast the nuts lightly in a dry pan before adding to bring out their natural oils
- Chocolate chips: Fold them in gently so they do not sink to the bottom during baking
Tired of Takeout? 🥡
Get 10 meals you can make faster than delivery arrives. Seriously.
One email. No spam. Unsubscribe anytime.
Instructions
- Preheat your oven and prepare the pan:
- Line your square baking pan with parchment paper letting the edges hang over like handles for easy lifting later.
- Melt chocolate and butter together:
- Keep the heat low and stir constantly until the mixture is glossy and smooth with no remaining lumps.
- Whisk in both sugars:
- The mixture will look grainy and thick which is completely normal at this stage.
- Add eggs one at a time:
- Whisk thoroughly after each egg until the batter becomes glossy and falls from the spoon in thick ribbons.
- Incorporate vanilla extract:
- Scrape down the sides of the pan to make sure everything gets evenly combined.
- Sift in the dry ingredients:
- Fold the flour cocoa powder and salt into the wet mixture using a spatula until no dry streaks remain.
- Add your mix-ins if desired:
- Gently fold in nuts or chocolate chips being careful not to overwork the batter.
- Spread batter into the pan:
- Use an offset spatula to smooth the top into an even layer.
- Bake until just set:
- The edges should be slightly puffed and a toothpick inserted in the center comes out with moist crumbs.
- Cool completely before cutting:
- Letting them cool in the pan helps the texture set properly for clean squares.
 Save to Pinterest
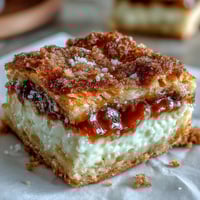
 My grandmother kept a Tupperware container of these in her freezer and I swear they tasted even better slightly frozen with that creamy almost ice cream like texture. Now I understand why she never apologized for serving them straight from the freezer.
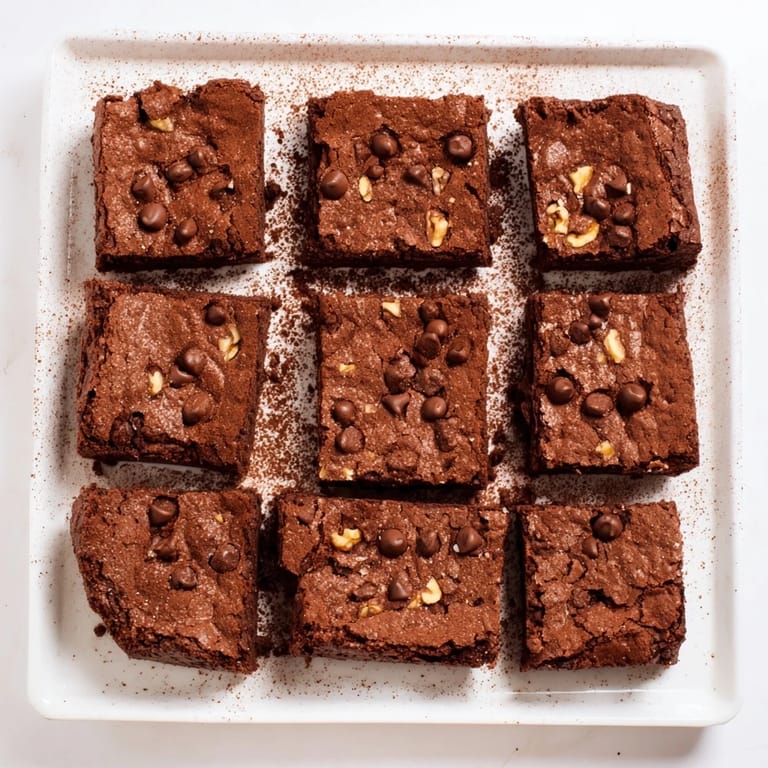
Getting That Crackly Top
The sugar needs to dissolve completely into the hot butter chocolate mixture to create that signature shatteringly crisp crust. Whisking the eggs vigorously until the batter turns glossy and forms ribbons is the real secret to getting that professional looking top.
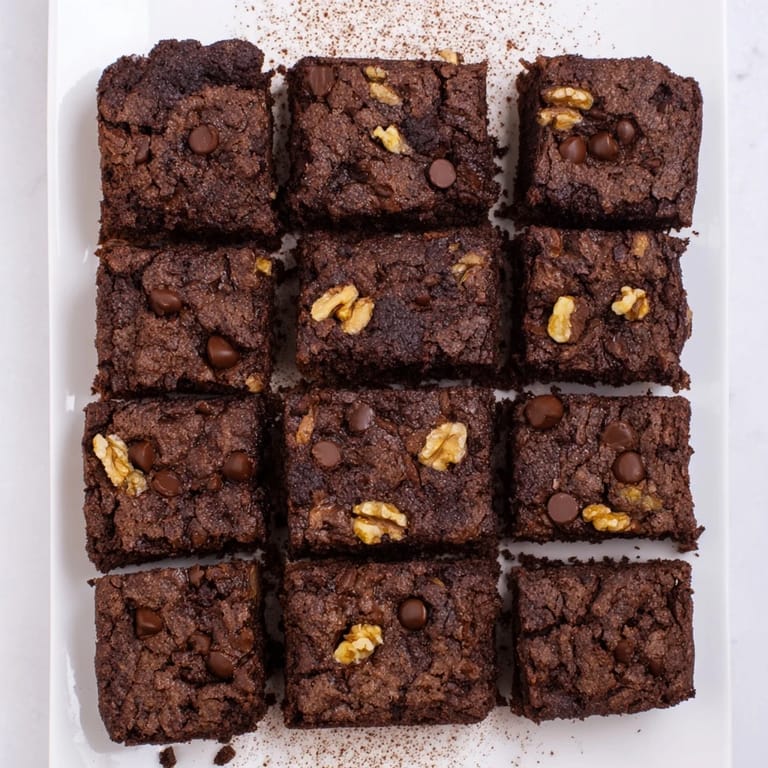
Fudgy Versus Cakey
Less flour and more fat equals fudgy brownies while adding more flour and beating air into the eggs creates a cakey result. I have found that the sweet spot for most people is somewhere between with just enough flour to hold everything together without drying out the texture.
Storage and Serving Suggestions
These brownies actually improve after sitting overnight wrapped tightly at room temperature as the flavors deepen and the texture becomes more dense and fudgy. For longer storage freeze individual squares between layers of wax paper then thaw at room temperature for about 20 minutes before serving.
- Warm a brownie for 15 seconds in the microwave and top with vanilla ice cream
- Crumble leftover brownies over chocolate pudding or ice cream sundae
- Press small chunks into the center of your next batch of chocolate chip cookies
 Save to Pinterest
 May your kitchen always smell like chocolate and may someone love you enough to hide the last square for later.
Recipe Questions & Answers
- → What makes brownies fudgy versus cakey?
Fudgy brownies have a higher fat-to-flour ratio, using more butter and chocolate while minimizing flour. The minimal mixing and slightly underbaking technique also contributes to that dense, gooey texture rather than a light, fluffy crumb.
- → How do I get the crackly top on brownies?
The crackly top forms when sugar dissolves into the melted butter and chocolate mixture, then rises to the surface during baking. Using both granulated and brown sugar, plus proper oven temperature, creates that signature shiny, crackled crust.
- → Can I make these brownies nut-free?
Absolutely. Simply omit the optional walnuts or pecans called for in the add-ins section. The base brownie contains no nuts, making it safe for those with tree nut allergies when you skip that optional ingredient.
- → Why should I chill brownies before cutting?
Chilling allows the chocolate to fully set and the structure to firm up, making cleaner cuts through the dense squares. Room temperature brownies can be gooier and more prone to smearing, while chilled ones slice neatly with sharp edges.
- → What's the best way to store fudgy brownies?
Store in an airtight container at room temperature for up to 3 days, or refrigerate for up to a week. The fridge actually enhances the fudgy texture. For longer storage, wrap individually and freeze for up to 3 months.
- → Can I use cocoa powder instead of melted chocolate?
While possible, swapping melted chocolate for cocoa powder alters the texture significantly. Melted chocolate provides the fat content needed for that dense fudgy consistency, whereas cocoa-only versions tend to be cakey and less rich.